Begin by warming the milk to 110°F. You can either use the stovetop and a small pan over a low heat or place the milk in a microwave-safe bowl and heat 45 seconds at a time until you reach 110°F. After the milk is heated, in a large bowl, combine the milk with melted butter, sugar, and yeast. Let mixture stand for 10 minutes or until frothy. While you wait, whisk your room temperature egg in a separate bowl and set aside.
Add the whisked egg to the milk mixture until well-combined. Stir in flour and salt until a dough starts to form. Using a stand mixer with a dough hook, knead the dough on medium speed for about 7 to 8 minutes or until the dough is slightly sticky. If the dough is too sticky, add about 1/4 cup of bread flour to the bowl and knead until it's incorporated. If you would like to knead the dough with your hands, do so on a floured surface for 8 to 10 minutes.
Prepare a medium bowl by spraying the inside entirely with baking spray. Take your dough from the large bowl and shape it into a ball. Place the ball of dough in the greased medium bowl and cover with plastic wrap and a warm, damp towel. Let the dough rise for 1 hour or until it has doubled in size. Meanwhile, in a small bowl, mix the cinnamon and sugar. Set aside.
When the dough has doubled in size, roll it out on a well-floured surface into a 14 x 9 inch rectangle. Spread the softened butter over the rectangle, leaving about 1/4 inch of room on all four edges. Sprinkle the cinnamon sugar mixture over the butter. It seems like a lot, but you should use all of it.
Carefully and tightly roll the dough starting from one of the the short edges. Seal the edge that is exposed by pinching the dough together, so the roll doesn't fall apart. After it's been rolled up like a tube, cut the tube of dough into 9 separate 1-inch equal sections with a very sharp serrated knife.
Line a 13 x 9 inch baking dish with parchment paper and place the cinnamon rolls in the dish. I was able to fit 3 rolls in each row, and they were all slightly touching (that's totally okay for this recipe). Cover with plastic wrap and a damp warm towel, and let rise for about 40 minutes. The rolls should look like they have risen some after 40 minutes. If not, let them rise until you see a more obvious change in size.
Preheat the oven to 350°F. Remove the plastic and towel from the baking dish and place the rolls in the oven. Bake for 20 to 25 minutes. Start to keep an eye on the rolls at the 18-minute mark in the oven (check with the oven light, don't open the oven door!) to see if they are golden on the edges. To get very soft cinnamon rolls, it's important to under-bake them slightly. So once they have those golden edges, take them out of the oven. Let them cool for 10 minutes on a cooling rack.
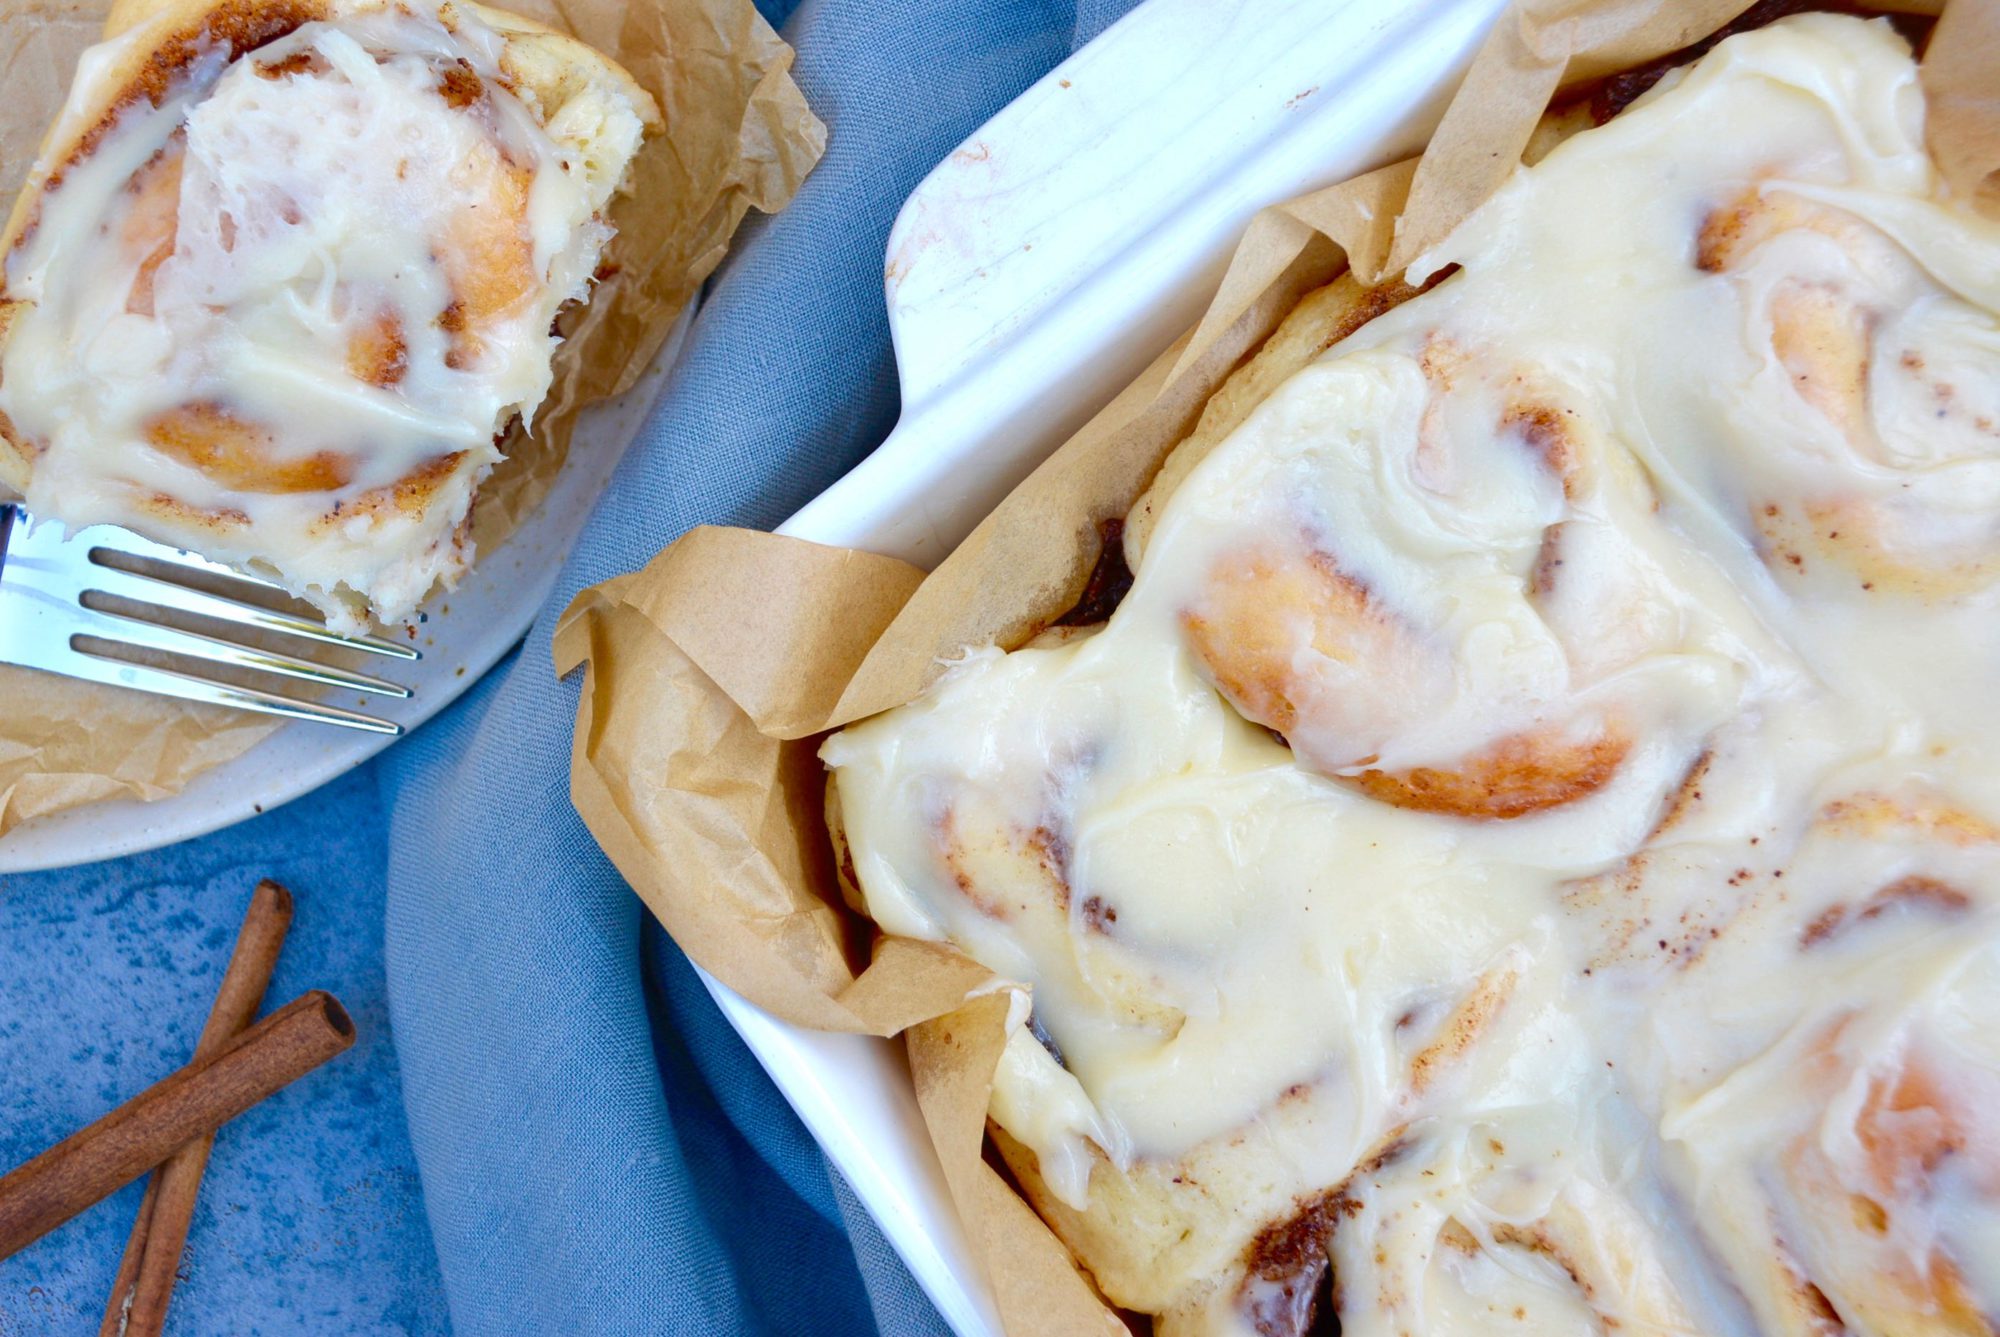
While the rolls are baking or when they are cooling, beat all of the frosting ingredients in a medium bowl until smooth. Spread the frosting over the just-baked cinnamon rolls and serve! Store them in an airtight container in the refrigerator for up to 7 days.
Ingredients
Directions
Begin by warming the milk to 110°F. You can either use the stovetop and a small pan over a low heat or place the milk in a microwave-safe bowl and heat 45 seconds at a time until you reach 110°F. After the milk is heated, in a large bowl, combine the milk with melted butter, sugar, and yeast. Let mixture stand for 10 minutes or until frothy. While you wait, whisk your room temperature egg in a separate bowl and set aside.
Add the whisked egg to the milk mixture until well-combined. Stir in flour and salt until a dough starts to form. Using a stand mixer with a dough hook, knead the dough on medium speed for about 7 to 8 minutes or until the dough is slightly sticky. If the dough is too sticky, add about 1/4 cup of bread flour to the bowl and knead until it's incorporated. If you would like to knead the dough with your hands, do so on a floured surface for 8 to 10 minutes.
Prepare a medium bowl by spraying the inside entirely with baking spray. Take your dough from the large bowl and shape it into a ball. Place the ball of dough in the greased medium bowl and cover with plastic wrap and a warm, damp towel. Let the dough rise for 1 hour or until it has doubled in size. Meanwhile, in a small bowl, mix the cinnamon and sugar. Set aside.
When the dough has doubled in size, roll it out on a well-floured surface into a 14 x 9 inch rectangle. Spread the softened butter over the rectangle, leaving about 1/4 inch of room on all four edges. Sprinkle the cinnamon sugar mixture over the butter. It seems like a lot, but you should use all of it.
Carefully and tightly roll the dough starting from one of the the short edges. Seal the edge that is exposed by pinching the dough together, so the roll doesn't fall apart. After it's been rolled up like a tube, cut the tube of dough into 9 separate 1-inch equal sections with a very sharp serrated knife.
Line a 13 x 9 inch baking dish with parchment paper and place the cinnamon rolls in the dish. I was able to fit 3 rolls in each row, and they were all slightly touching (that's totally okay for this recipe). Cover with plastic wrap and a damp warm towel, and let rise for about 40 minutes. The rolls should look like they have risen some after 40 minutes. If not, let them rise until you see a more obvious change in size.
Preheat the oven to 350°F. Remove the plastic and towel from the baking dish and place the rolls in the oven. Bake for 20 to 25 minutes. Start to keep an eye on the rolls at the 18-minute mark in the oven (check with the oven light, don't open the oven door!) to see if they are golden on the edges. To get very soft cinnamon rolls, it's important to under-bake them slightly. So once they have those golden edges, take them out of the oven. Let them cool for 10 minutes on a cooling rack.
While the rolls are baking or when they are cooling, beat all of the frosting ingredients in a medium bowl until smooth. Spread the frosting over the just-baked cinnamon rolls and serve! Store them in an airtight container in the refrigerator for up to 7 days.


Leave a Reply