


Having an espresso machine opens the door to many new coffee drinks, but you need to learn how to pull a good espresso shot first.
- An espresso machine opens the door to making lattes, cappuccinos, Americanos, and so much more.
- To get to this stage, you must learn how to use your espresso machine properly in order to start pulling good espresso shots.
- Measuring, grinding, and tamping are all necessary components to making a good espresso.
So you just bought an espresso machine, but now what? You open the box, and find all of these unidentifiable pieces like the tamper and the portafilter (porta-what?!), but what do they do and how do you use them? It seems daunting at first, but trust me, it’s not that bad.
If you read through these few steps below, you’ll be on your way to pulling beautiful espresso shots in no time.
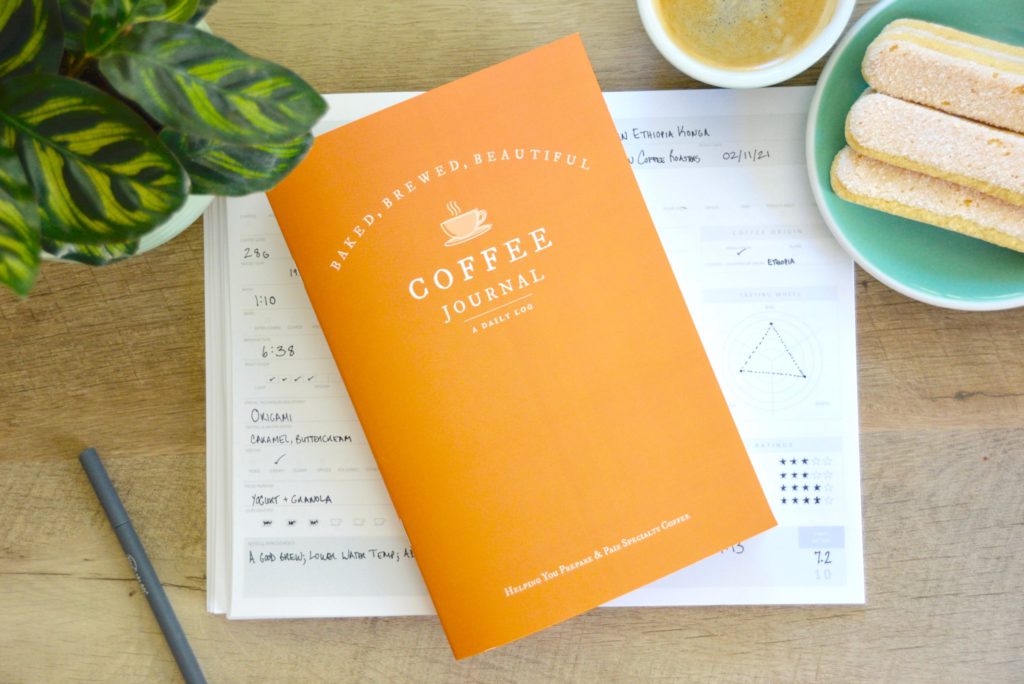
Track Your Daily Coffee Routine With The Coffee Journal
The Coffee Journal helps you to capture the most important details of your daily brewing routine in one organized location.
In recording your regular brewing process, you can refine your cup of java & enjoy more consistent, quality coffee at home.
Get Started For Only $24
Or grab the digital version for only $18
Preheat your machine and wipe the group head.
Your espresso machine needs to be turned on and given time to heat up. This usually takes just a few minutes, but it all depends on the machine.
Once the espresso machine is ready, you can press the brew button (or whatever you need to do to initiate a shot), and allow only water to flow through the group head for about 5 to 10 seconds (the group head is the part of the espresso machine that brings water out and into the filter basket). Then, grab a towel, and wipe the group head clean of any coffee grounds from previous usages.
Helpful Hint #1: It’s so so important to do this cleaning practice every time prior to pulling a shot. If you do not, you’ll likely end up with a burnt-tasting espresso shot, and who wants that after all the hard work you did?
Measure out your beans to the right dose.
Next, you need to weigh out your dose. This is the amount of coffee needed to fill the portafilter. The portafilter is the instrument that gets inserted into the group head (it’s also pictured in my logo!).
For a double shot, you should measure out 14 to 18 grams. This number can vary depending on personal preference as well as your machine (I use 18 grams when using the Breville’s Dual Boiler, but my husband prefers 22 grams). For single shots, you should measure out about 7 to 9 grams.
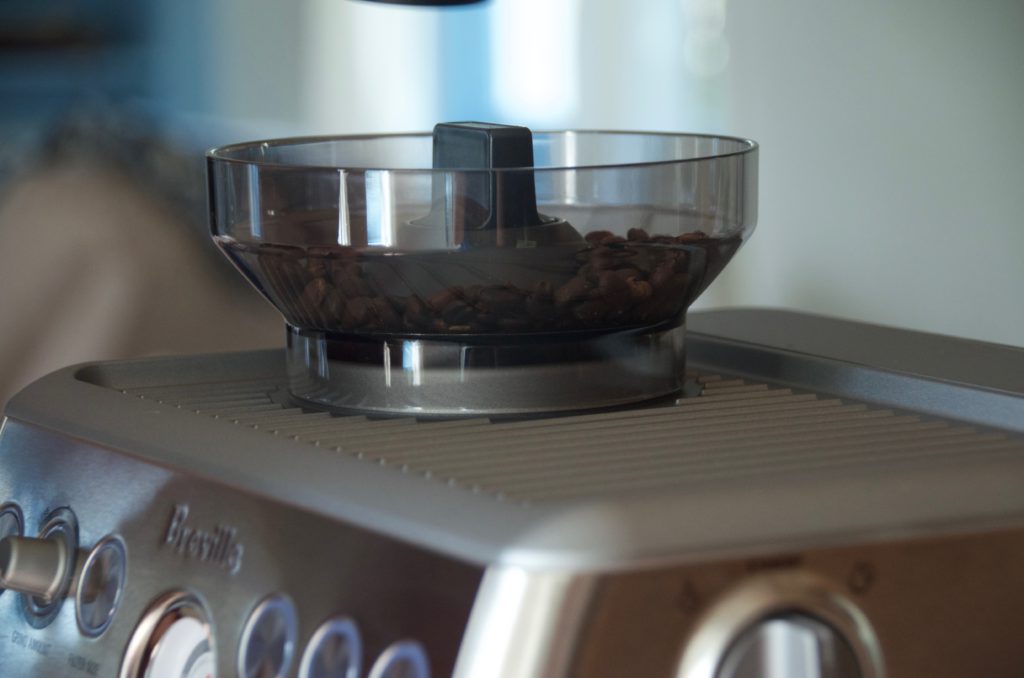
Grind your beans.
After you’ve measured out your beans, you need to grind them. But before doing so, you’ll need to set your grinder to the appropriate grind size. For espresso, the grounds need to be fairly fine. If too fine, however, the shot will be over-extracted and can test rather bitter. Oppositely, if too coarse, it will be under-extracted, which can end up tasting watery and sour.
A good rule of thumb is to find a grind size that matches the texture of granulated sugar. You will need to test the settings on your grinder to find the right size, as each grinder will differ.
Helpful Hint #2: When you’re pulling espresso, you should always grind fresh coffee beans right before brewing (and avoid using pre-ground coffee at all costs). Grab my Espresso Tip Sheet below for more secret tips!
Want in on a few more espresso-pulling secrets?
Join my newsletter and get instant access to my FREE resource library to grab my FREE tip guide for making amazing espresso and start pulling perfect espresso shots today. Sign up below!
It’s tamping time.
Note: I may earn a small commission when you make a purchase through some of the below links. Read my disclosure policy to learn more.
The tamper is that tool that looks like an end of a rolling pin, and it’s the piece that fits inside of the portafilter. It’s used to press down the grounds into the filter. Most espresso machines come with one, but they aren’t always worth using (especially if it’s one of those that are attached to the machine). If you can, I’d highly recommend investing in a stainless steel tamper or something with a bit of weight.
You can find a reasonable one online, but just make sure it will fit the size of your portafilter. This will drastically improve your espresso if you previously were using a plastic tamper.
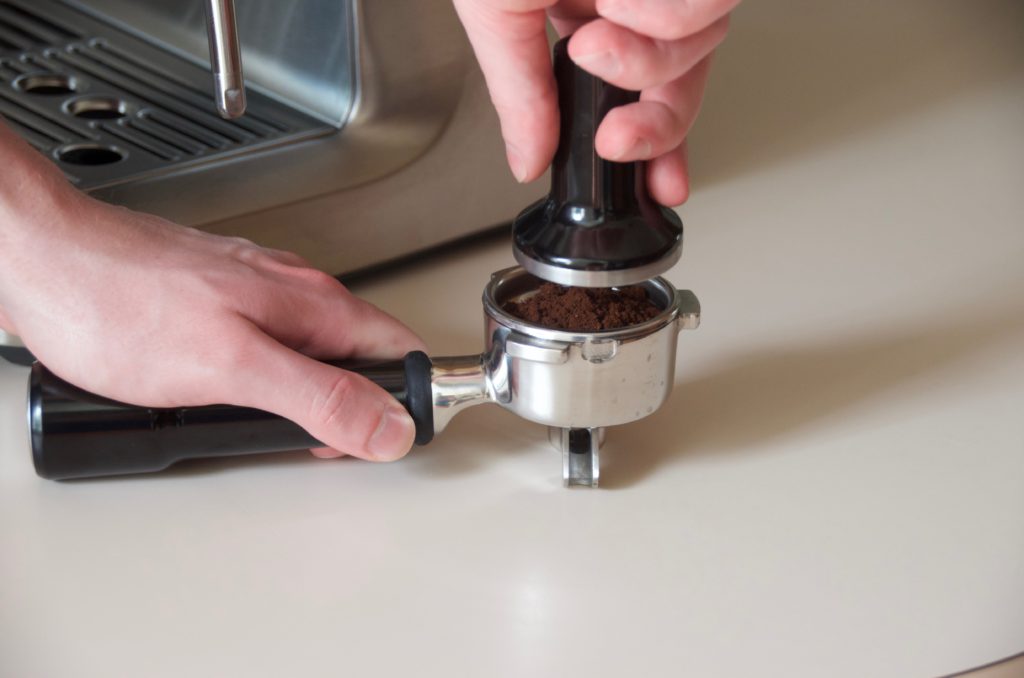
There are different techniques to tamping, but a basic method is as follows: bend your elbow at a 90-degree angle and place your portafilter (with the grounds inside) on a flat surface. Next, hold the tamper like a doorknob and place it on top of the portafilter. Press down firmly and apply about 15 pounds of pressure. Take a breath, and come back with the tamper and apply another 20 to 30 pounds of pressure.
At this point, the grounds in the filter should look uniform, and have an even polished look.
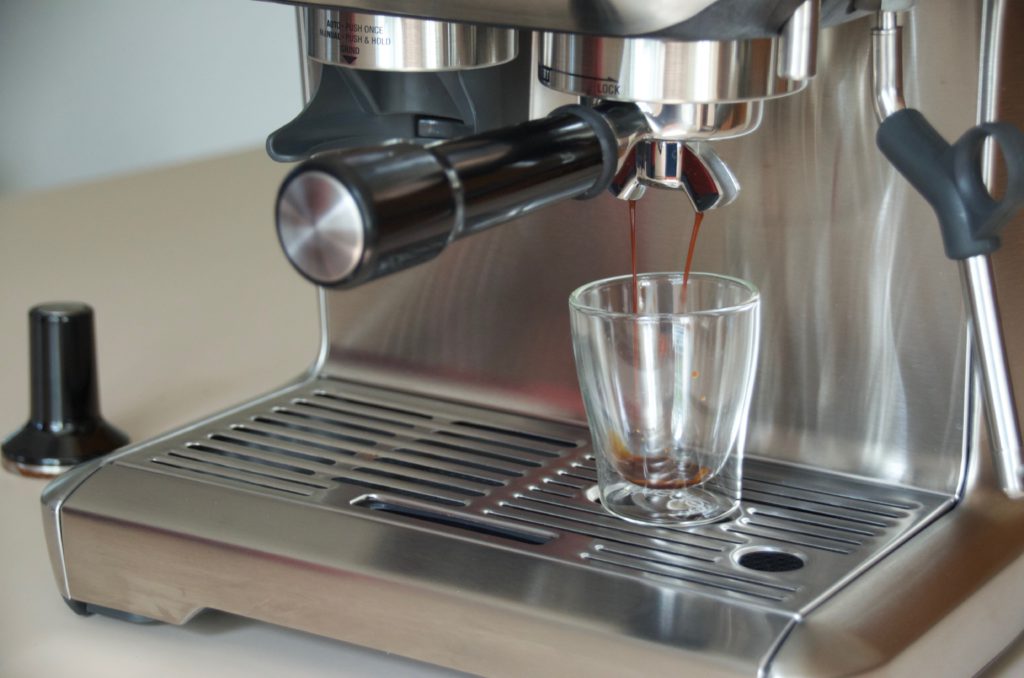
You’re ready to brew.
Now, you can place your portafilter into the machine’s grouphead as well as your chosen vessel to catch your espresso underneath. When you’re ready, press start or whatever initiates the pull, and begin a timer to time your shot.
You should stop the shot after about 20 to 30 seconds. For me, this number varies depending on how good the shot looks when it’s being extracted. If I can tell it’s on the watery side, I stop the shot earlier. If it looks pretty good, I let it run for the full 30 seconds.
Examine your results and adjust if necessary.
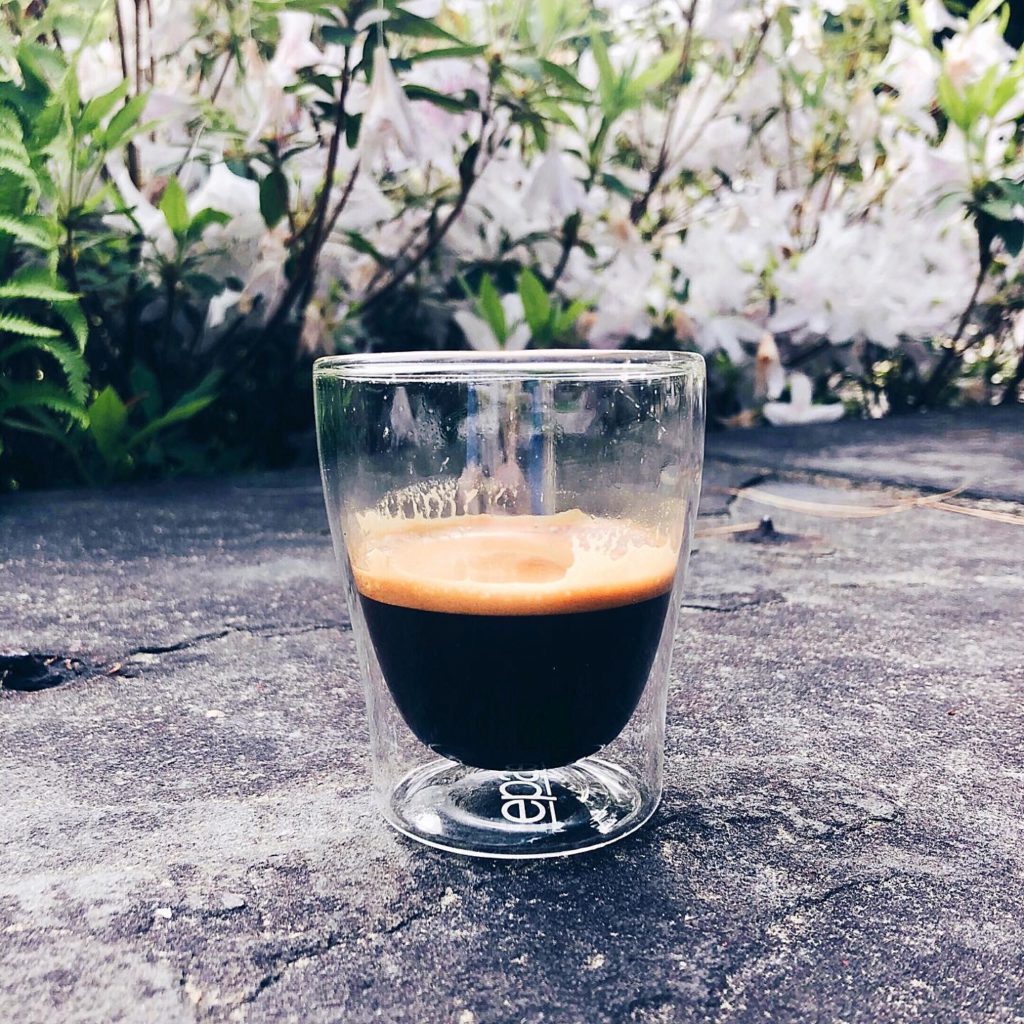
If all goes well, your espresso shot should be darker on the bottom and lighter moving upwards. The shot should also have a bit of light brown foam (known as the crema) on top. The correct water volume for each shot should be 1 ounce, or 2 ounces for a double.
If it wasn’t perfect the first time, that’s okay, it will get better with practice. Some common mistakes are under-tamping or using the wrong grind size.
You’ll have to play around with the different variables mentioned in this post to see what works best for your machine (and preference!). And if all else fails, send me a message and I’d be happy to help out!
Did you grab this FREE Brew Guide for making the perfect espresso at home?
Subscribe to my newsletter to get instant access to my FREE resource library and download my free tips for pulling the perfect espresso.
PLUS, be the first to grab more free brew guides and other awesome coffee freebies. Sign up below!


Leave a Reply