Open the steam wand to purge any water that had condensed in the tip, then close it again.
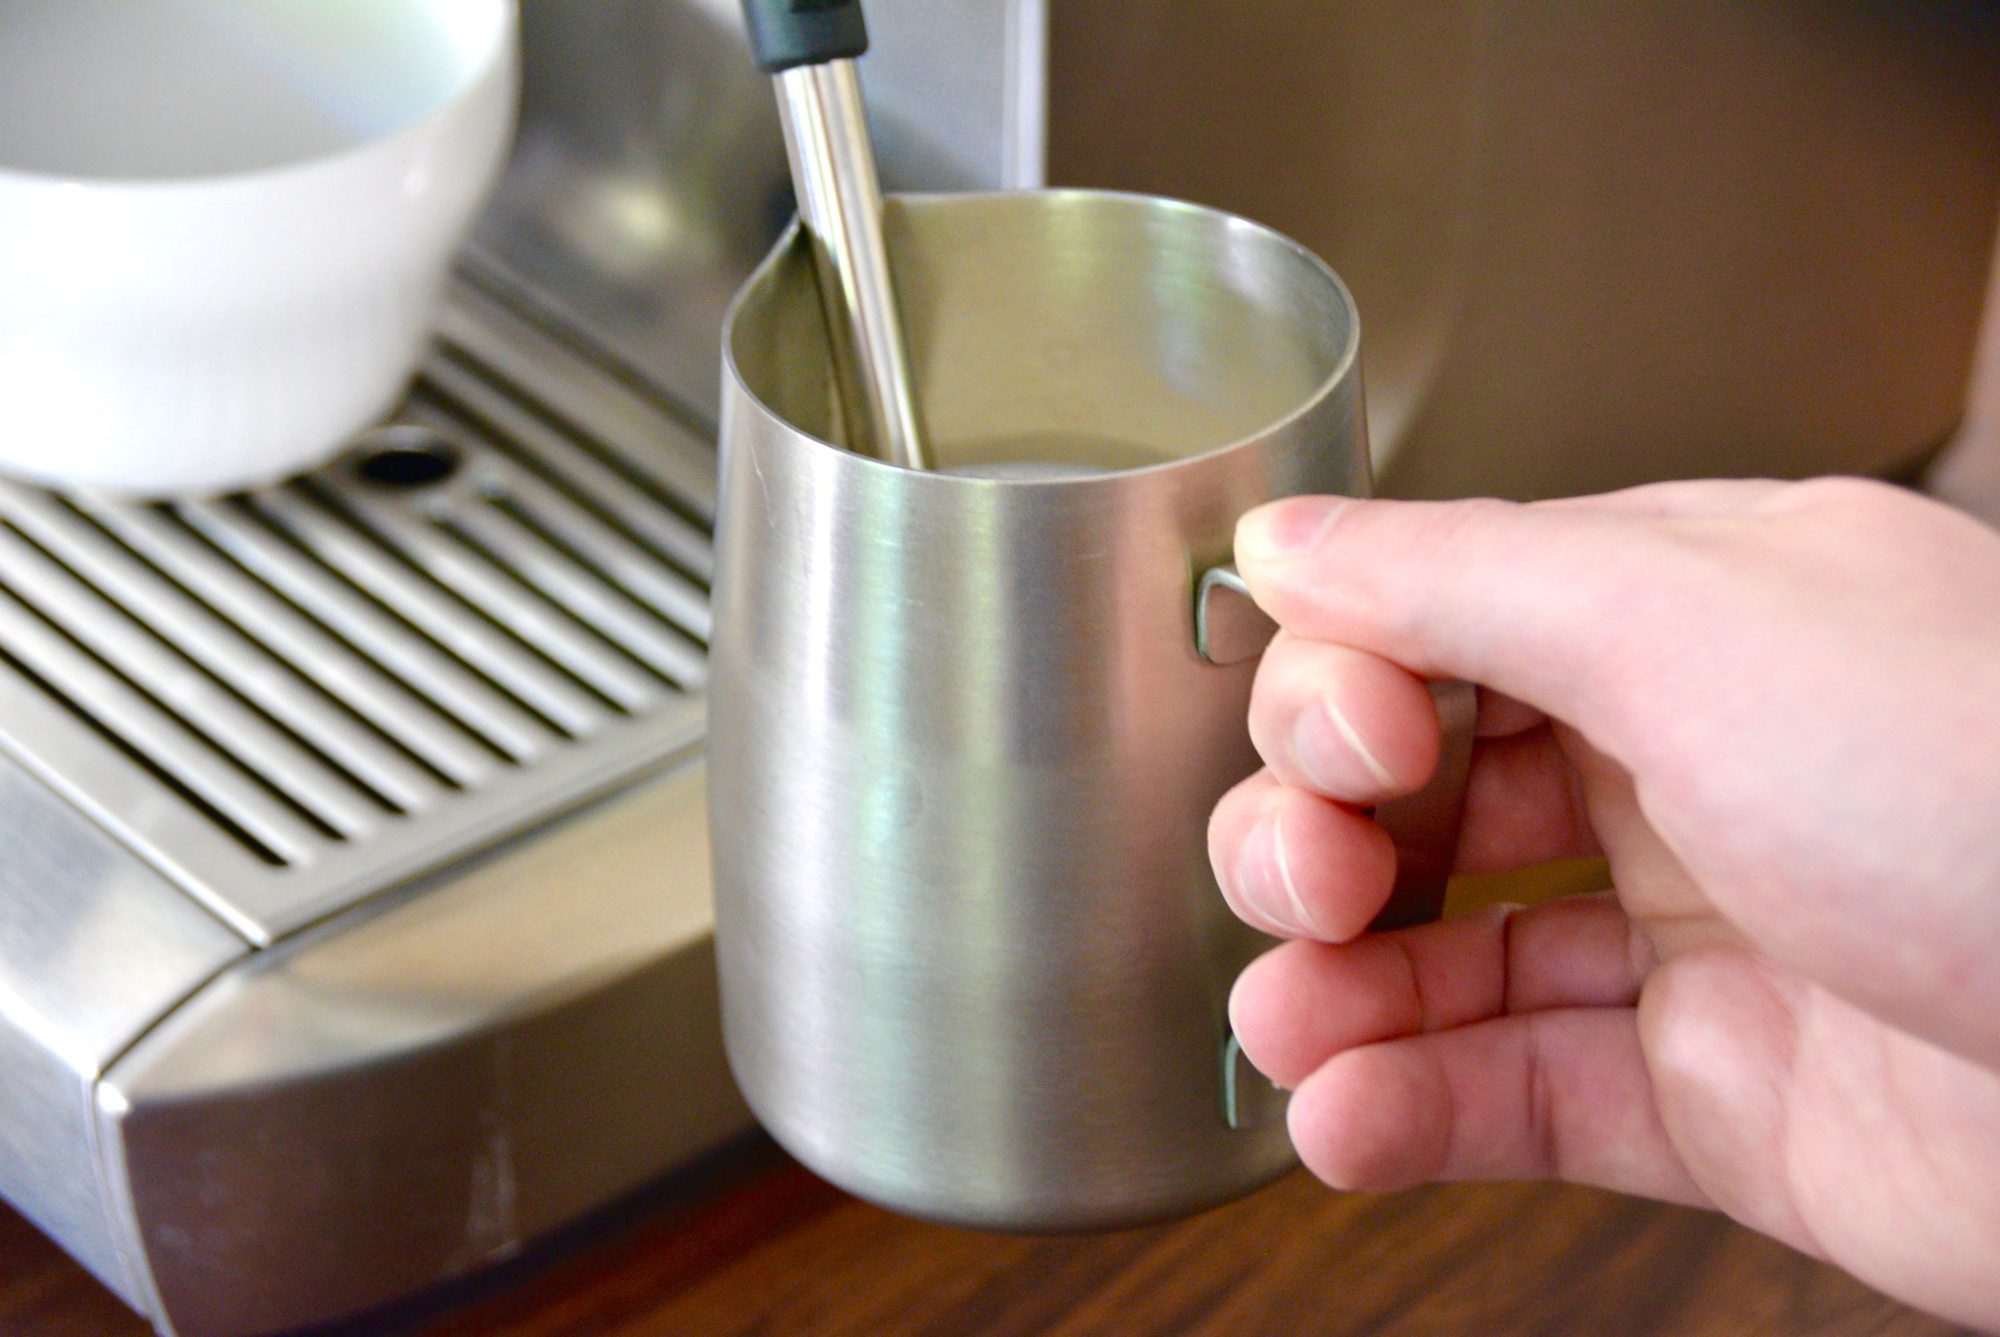
Place the tip of the steam wand into the milk, so that the tip is about ½ inch below the surface of the milk.
Open the steam valve all the way at first, and make sure the tip of the wand is kept near the surface of the milk. It needs to draw air from the milk's surface in order to produce the froth. For frothing, you will need to experiment, but a good starting point is to try to keep the tip about ½ inch below the surface of the milk. For steaming, you can completely submerge the tip.
Note: If the tip is too near to the surface of the milk, it will create bubbles that are too large. Remember that you want "microbubbles." On the other hand, if the tip is too far below the surface of the milk, it will not draw enough air to create froth (which is what we want for steamed milk). You will have to experiment to learn what is appropriate. And remember that as the froth rises, the surface of the milk falls, so you will have to adjust accordingly during the frothing process.
Swirl the pitcher in a clockwise (or counterclockwise - whichever is more natural for you) motion to create a "whirlpool" motion in the milk. This will cause the froth to be mixed evenly throughout the milk so as to create an even texture.
Keep frothing until you have made the texture that best suits your tastes. Generally, the milk should be frothed until it has doubled in volume. Once the milk has reached this point, move the tip of the wand slowly down into the milk. This distributes the froth into the milk and ensures an even temperature. When the thermometer reads just over 150°F, turn off the steam tap and remove the tip from the milk.
Note: The frothed milk will have a temperature of 158°F to 162°F because the thermometer takes some time to reach the actual temperature, hence the need to stop the frothing process when the thermometer reads 150°F. Milk frothing thermometers have a colored band around 140°F to 160°F. If using one of these thermometers, stop the frothing process when the temperature enters this colored band.
Quickly clean the wand with a paper towel or clean kitchen towel so there are no milk drippings on your counter or floor.
Immediately pour the foamed milk into your coffee beverage, leaving some in the pitcher to create latte art if desired.
Ingredients
Directions
Open the steam wand to purge any water that had condensed in the tip, then close it again.
Place the tip of the steam wand into the milk, so that the tip is about ½ inch below the surface of the milk.
Open the steam valve all the way at first, and make sure the tip of the wand is kept near the surface of the milk. It needs to draw air from the milk's surface in order to produce the froth. For frothing, you will need to experiment, but a good starting point is to try to keep the tip about ½ inch below the surface of the milk. For steaming, you can completely submerge the tip.
Note: If the tip is too near to the surface of the milk, it will create bubbles that are too large. Remember that you want "microbubbles." On the other hand, if the tip is too far below the surface of the milk, it will not draw enough air to create froth (which is what we want for steamed milk). You will have to experiment to learn what is appropriate. And remember that as the froth rises, the surface of the milk falls, so you will have to adjust accordingly during the frothing process.
Swirl the pitcher in a clockwise (or counterclockwise - whichever is more natural for you) motion to create a "whirlpool" motion in the milk. This will cause the froth to be mixed evenly throughout the milk so as to create an even texture.
Keep frothing until you have made the texture that best suits your tastes. Generally, the milk should be frothed until it has doubled in volume. Once the milk has reached this point, move the tip of the wand slowly down into the milk. This distributes the froth into the milk and ensures an even temperature. When the thermometer reads just over 150°F, turn off the steam tap and remove the tip from the milk.
Note: The frothed milk will have a temperature of 158°F to 162°F because the thermometer takes some time to reach the actual temperature, hence the need to stop the frothing process when the thermometer reads 150°F. Milk frothing thermometers have a colored band around 140°F to 160°F. If using one of these thermometers, stop the frothing process when the temperature enters this colored band.
Quickly clean the wand with a paper towel or clean kitchen towel so there are no milk drippings on your counter or floor.
Immediately pour the foamed milk into your coffee beverage, leaving some in the pitcher to create latte art if desired.


Leave a Reply