
Learn to steam milk with an espresso machine to make perfectly-textured milk for lattes, cappuccinos, and beyond.
Guest Post By: Karim Mohamed, founder of TheUniversalHome.com

- In espresso-based drinks, milk plays a significant role in the overall flavor of your latte or cappuccino.
- Use nonfat or skim milk for best results when steaming milk.
- Pay close attention to where you place your steam wand’s tip to get the best-textured & best-tasting milk for espresso drinks.
- Get the free step-by-step milk-steaming tutorial in a handy PDF. Click here to jump right to it!
There are a number of things that can make or break a good espresso-based drink. And one factor that plays a crucial role in the taste and texture of your coffee beverage is the milk.
If you desire to brew coffee at a level that can keep up with your favorite café, then you will have to learn how to steam milk the right way. Doing so will help you create that nice, frothy milk to add taste and texture to your latte, flat white, or café au lait.
Read on to find out how to properly steam milk with a steam wand. You’ll also learn all of the tips and coffee terms you’ll need to know to get that perfect milk texture for making your favorite espresso and coffee drinks at home.
Quick Links To Info In This Post
Frothing vs. Steaming Milk
Before getting into the details of steaming milk, you first need to know the difference between steamed milk and frothed milk. Though many use these terms interchangeably, there is a significant difference between the two types of milk.
Frothed milk is essentially created by adding air bubbles to milk in a process called milk aerating. The goal that you want to achieve with milk frothing is to create milk that has a creamy, airy mouthfeel. High-quality foam should be dense and fluffy. Foam is an essential element in drinks like macchiatos or cappuccinos.
Steamed milk, on the other hand, is hotter and has less foam. You can use it in a variety of coffee drinks such as lattes, mochas, and even hot chocolates. Steamed milk offers you that creamy and smooth taste. You can also use steamed milk for making latte art.
In summary, frothed milk has more volume and a significant amount of foam, whereas steamed milk is heated and more delicately aerated.
The Best Type of Milk for Foam
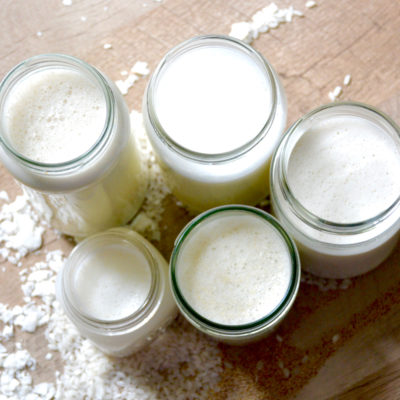
The best type of milk to create foam is actually not full-fat milk as many assume. The reason for this is because the fat weighs down the bubbles of air, which results in less-than-ideal foam.
Nonfat and skim milk are actually considered to be the best milk for making foam. These types of milk don’t have the fats you find in whole milk or half & half, and therefore, aren’t as heavy, resulting in more foam.
Common Questions
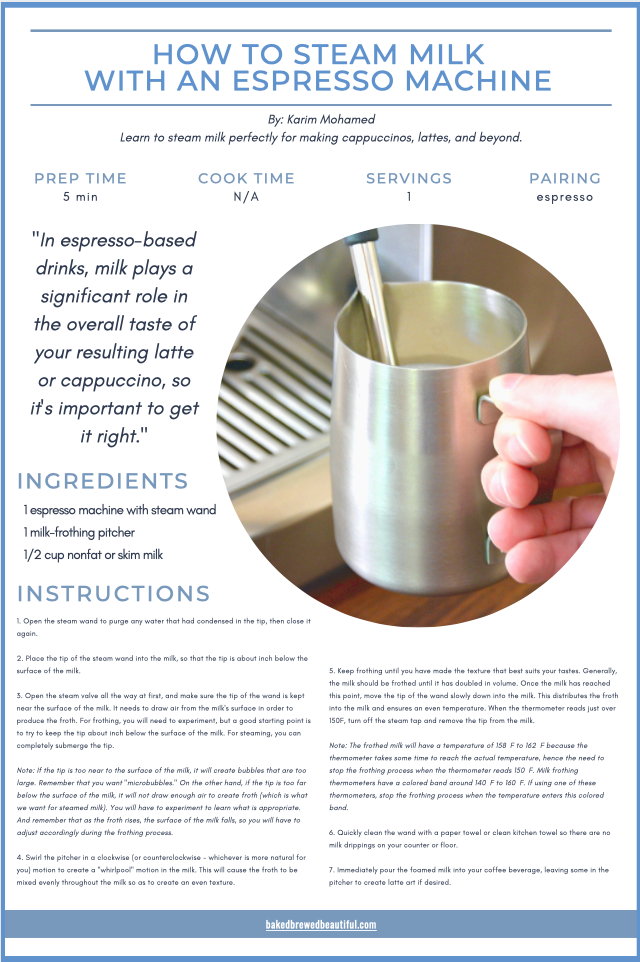
You are going to need three main components: an espresso machine with a wand, milk, and a pitcher.
Note: Don’t just use any pitcher that you have around the house. You will need something called a milk-frothing pitcher. These pitchers have the perfect depth for properly frothing milk and a long handle that’s easy to hold onto and control.
Another item you might want to grab is a quick-read thermometer. As you steam the milk, monitor the temperature so it doesn’t go above 160°F (above this, the taste will suffer).
As you steam the milk, it should double in size. So avoid filling the pitcher more than one-third of its size. This will keep the milk contained in the pitcher. Also, don’t use any less than that one-third marker or you’re going to find it hard to make decent milk foam.
It’s ideal that the frothing pitcher is at the same temperature as the milk, and both should be as cold as possible. Some pro baristas even store their milk pitchers in the freezer until they’re ready to steam their milk. 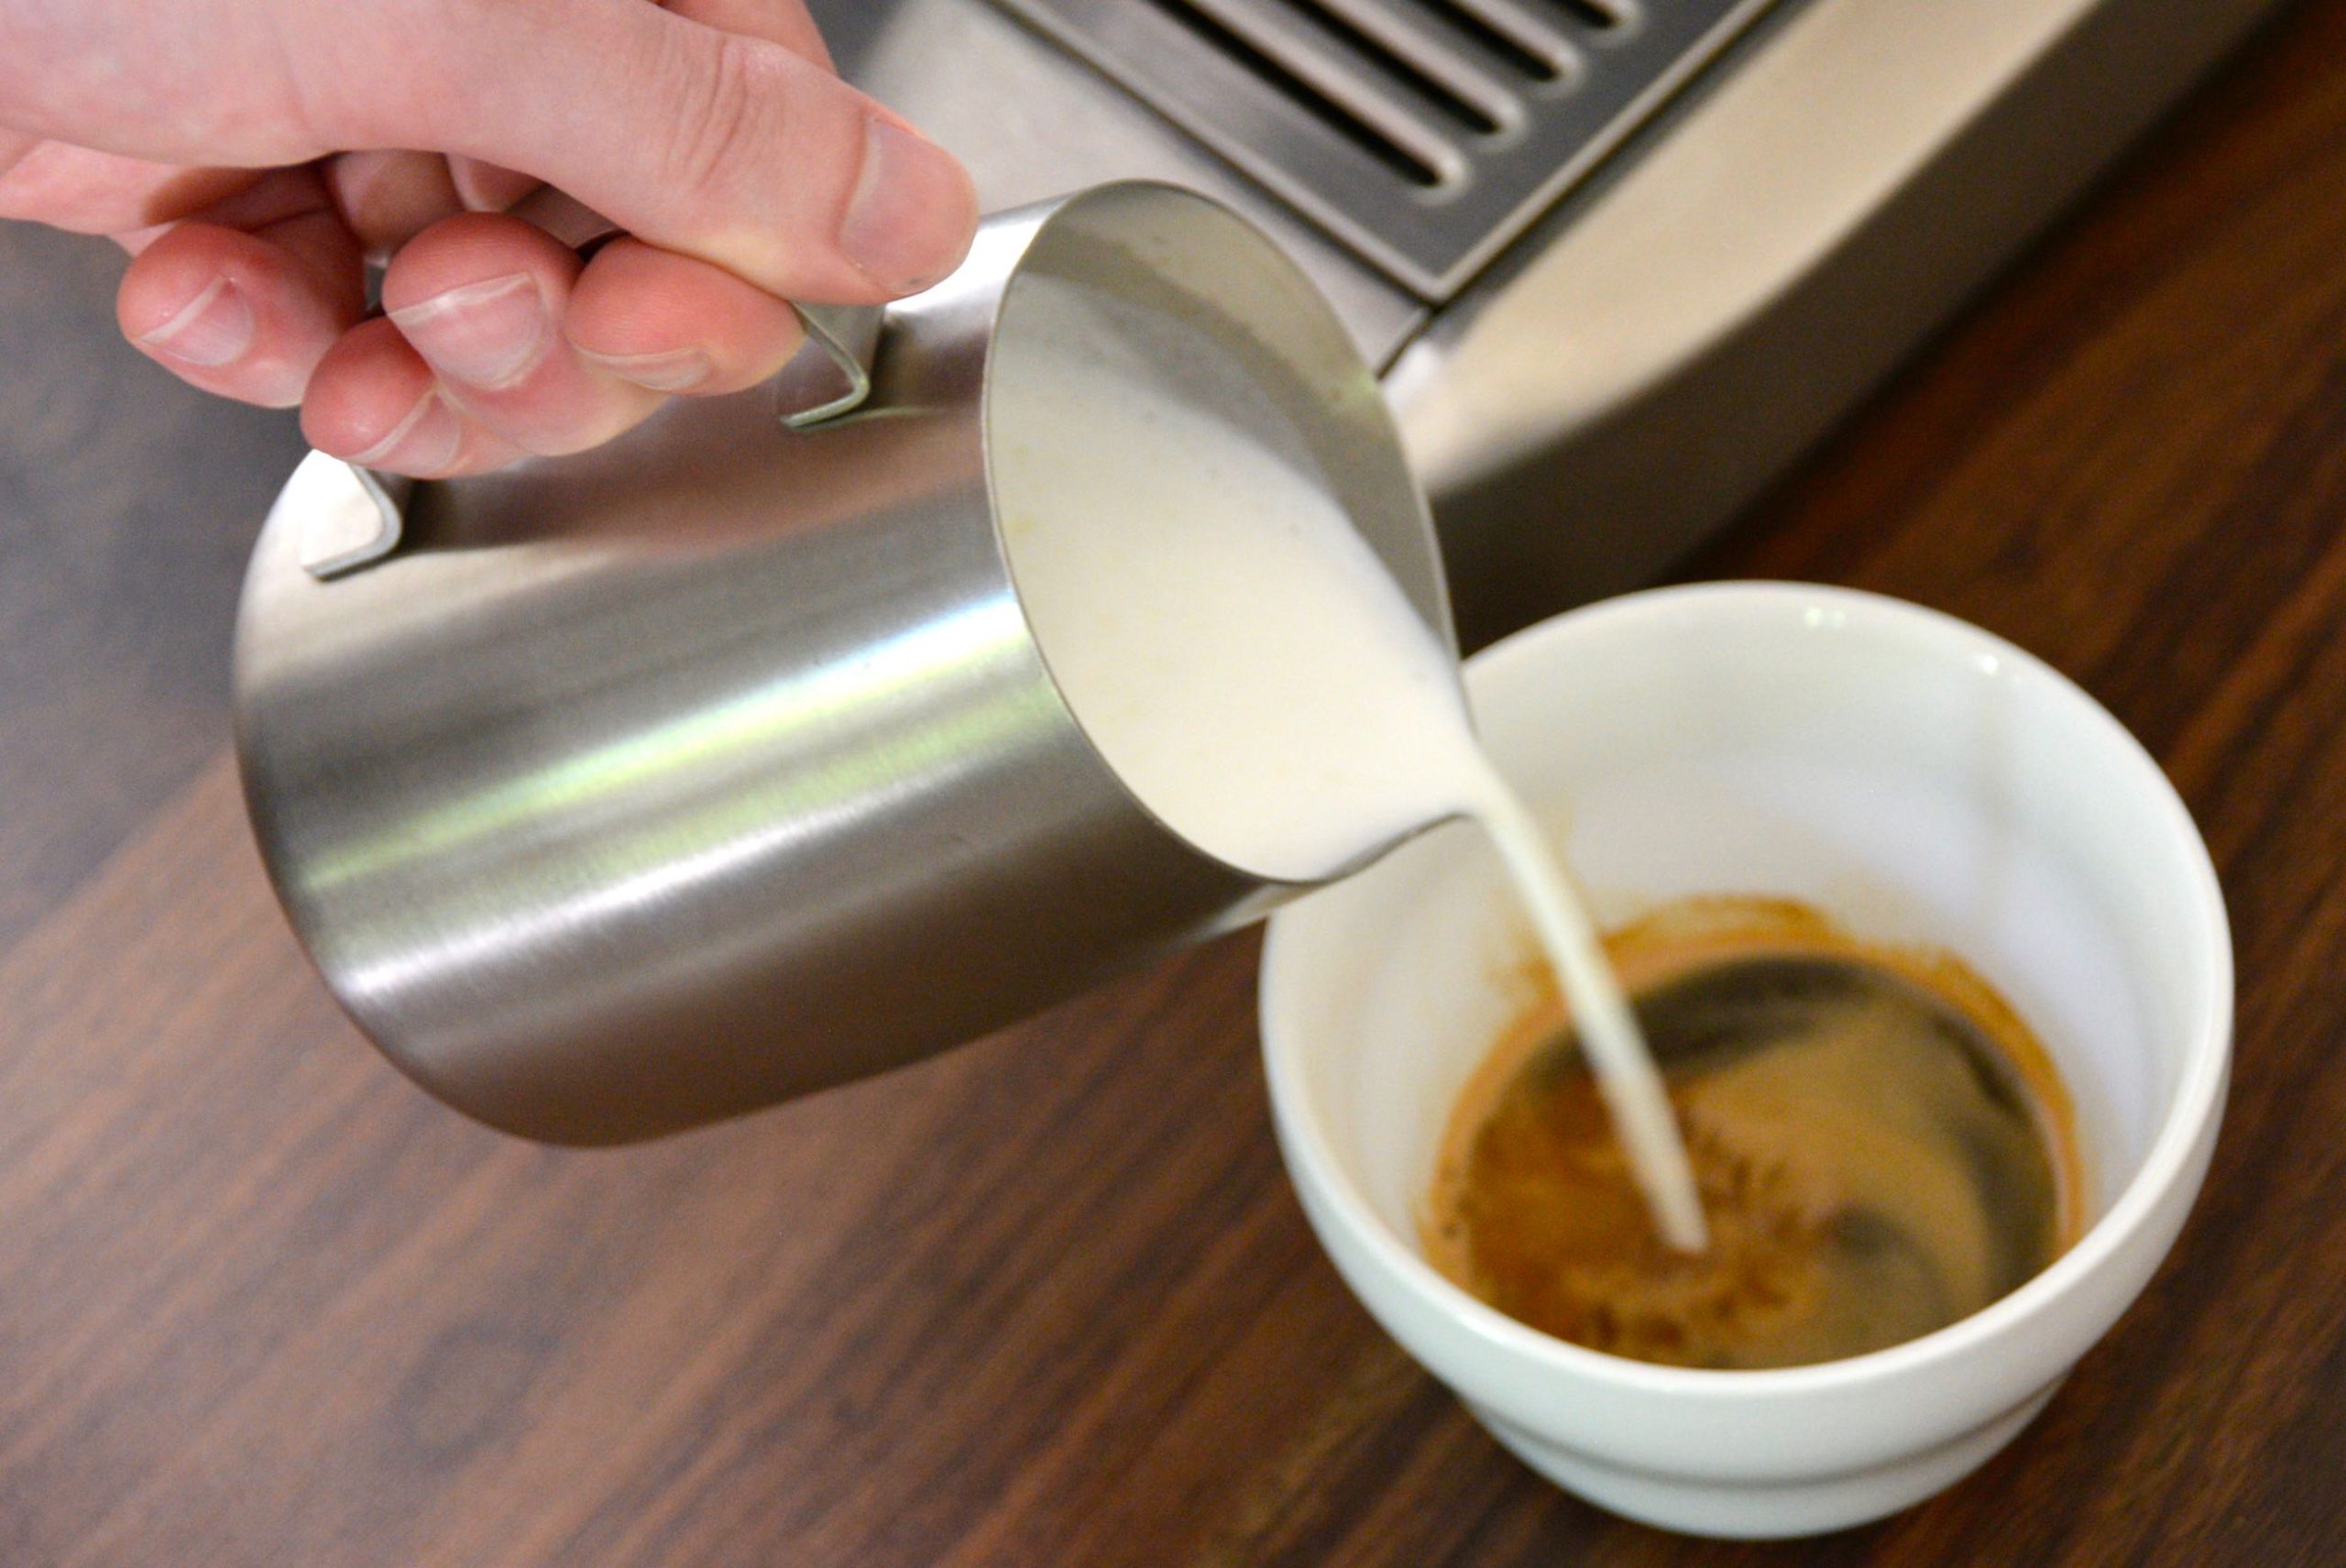
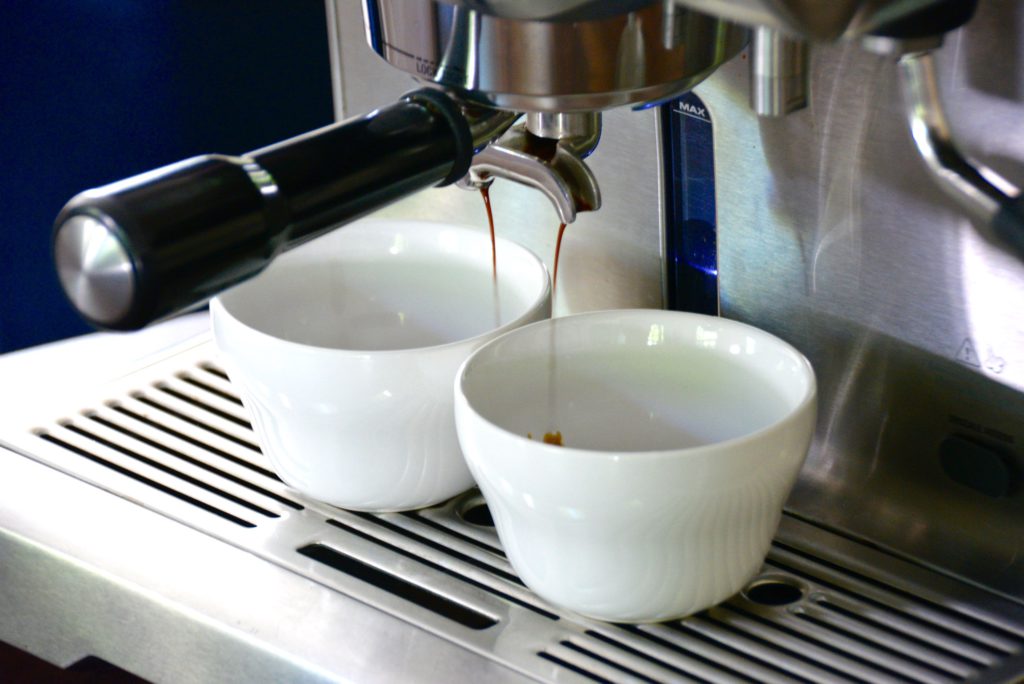
There are several ways of going about steaming milk for espresso at home. If you have access to an espresso machine with a steam wand, follow the step-by-step instructions below. The process of steaming milk with an espresso machine is simple and straight-forward.
Steamed milk and frothed milk are not the same. Frothed milk has more volume and a significant amount of foam, whereas steamed milk is heated and more delicately aerated.
Steamed milk makes drinks such as lattes feel creamy and smooth, providing you with a pleasant taste and mouthfeel when sipping.
Nonfat milk and skim milk are considered the best types of milk for making milk foam. These types of milk don’t have the fats you find in whole milk or half & half, and therefore, aren’t as heavy, resulting in more foam.
Don’t have time to read the whole post? Grab the PDF version!
Grab the PDF Version of this Milk Steaming Tutorial
Subscribe to my newsletter to receive exclusive access to my FREE resource library & grab this step-by-step milk steaming tutorial in a handy PDF.
PLUS, be the first to grab bonus recipes and other awesome coffee freebies. Sign up below!
How to Steam Milk With An Espresso Machine
Open the steam wand to purge any water that had condensed in the tip, then close it again.
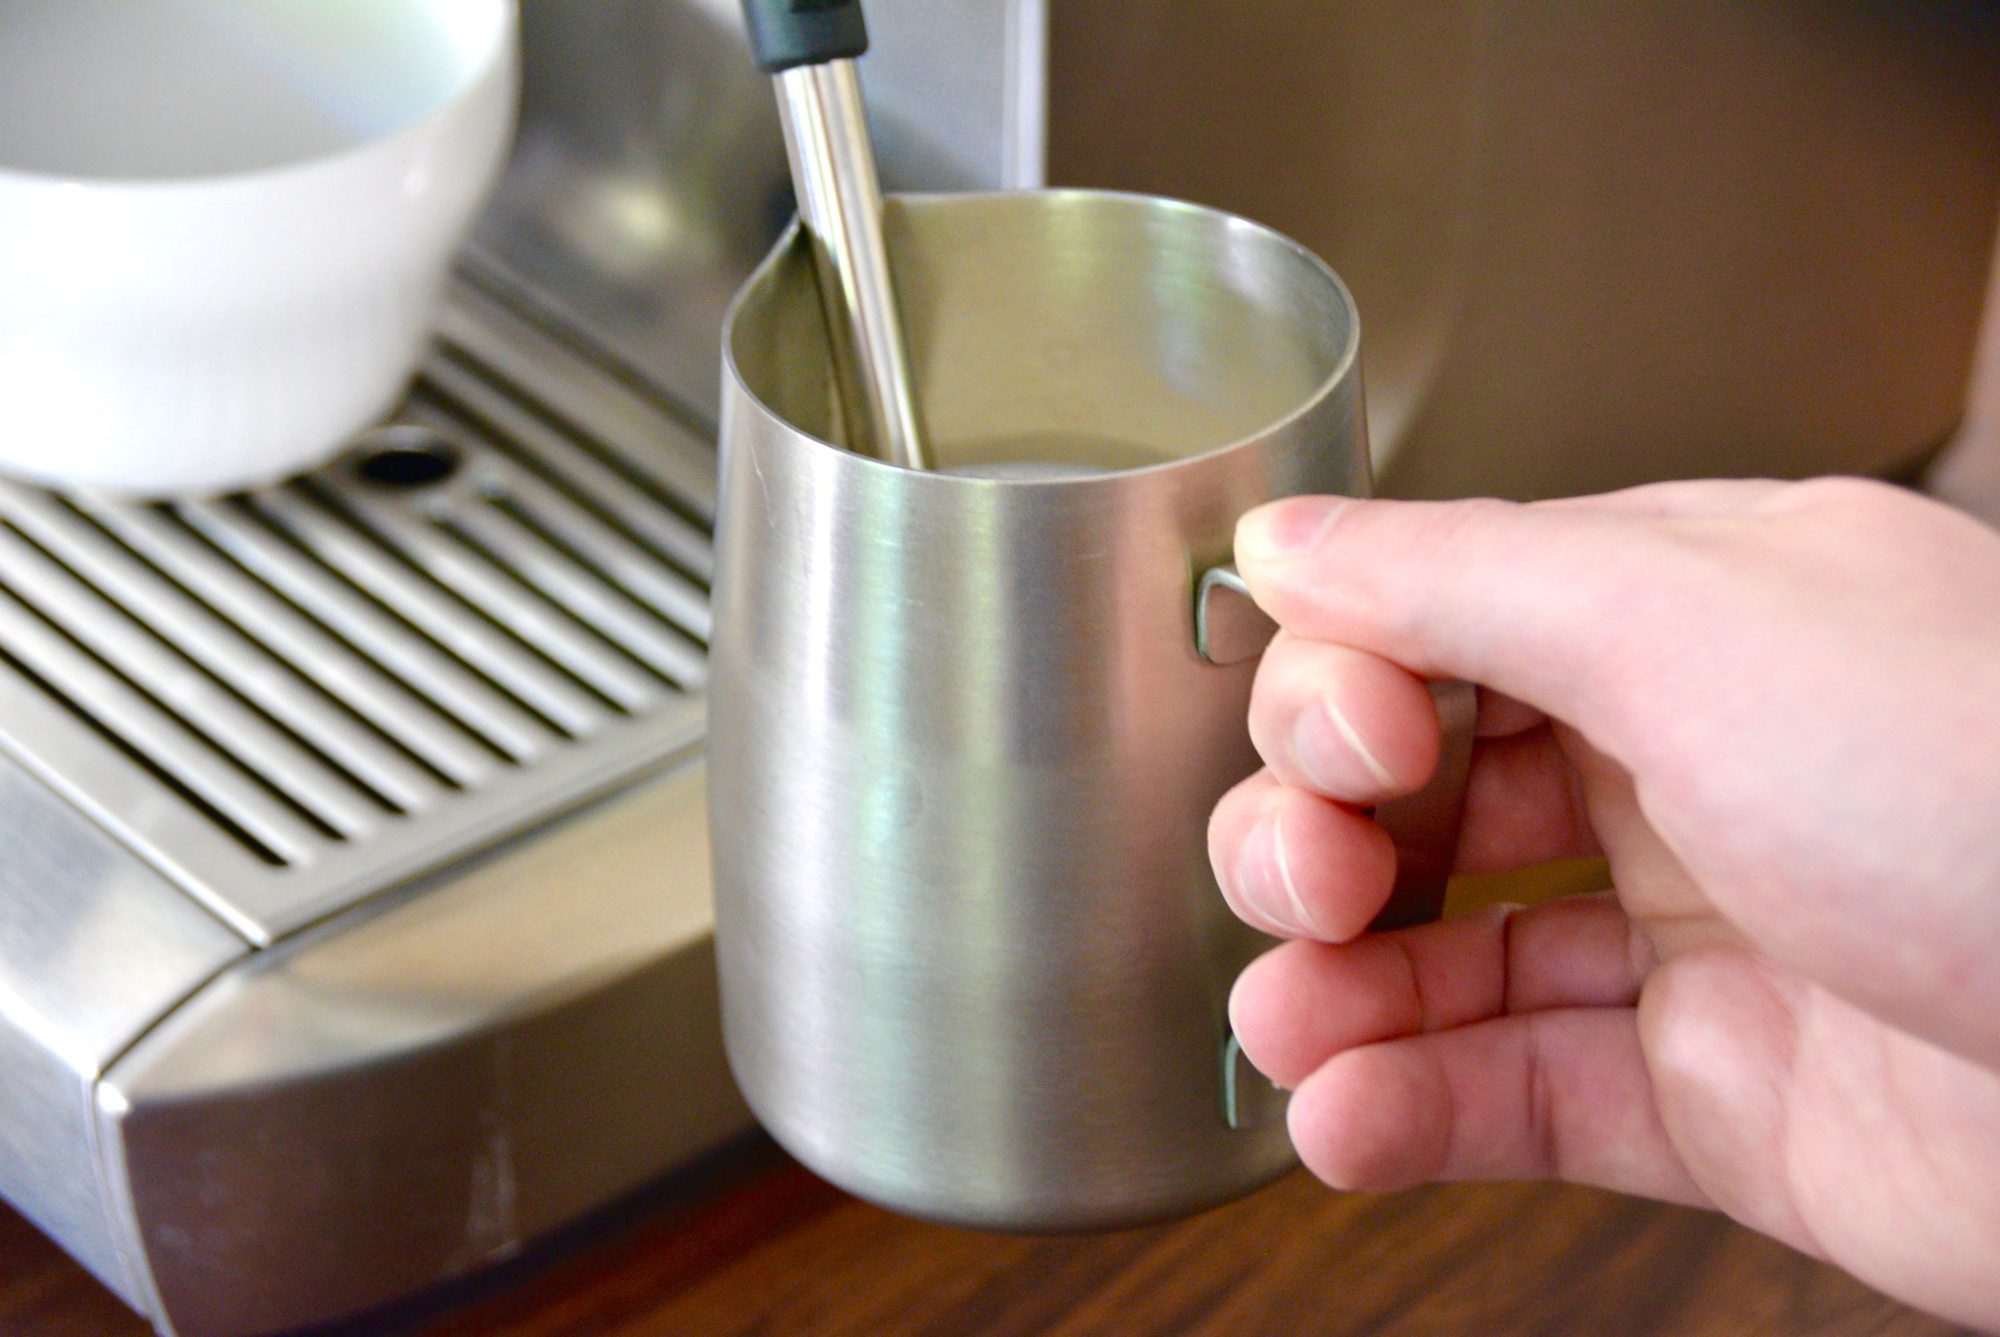
Place the tip of the steam wand into the milk, so that the tip is about ½ inch below the surface of the milk.
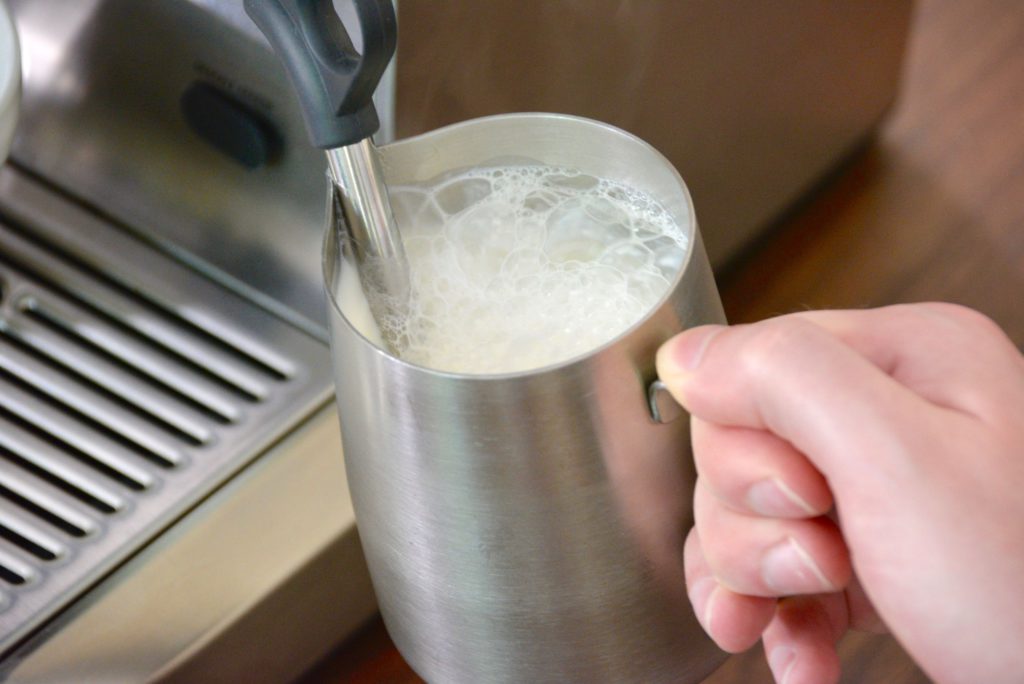
Open the steam valve all the way at first, and make sure the tip of the wand is kept near the surface of the milk. It needs to draw air from the milk's surface in order to produce the froth. For frothing, you will need to experiment, but a good starting point is to try to keep the tip about ½ inch below the surface of the milk. For steaming, you can completely submerge the tip.
Note: If the tip is too near to the surface of the milk, it will create bubbles that are too large. Remember that you want "microbubbles." On the other hand, if the tip is too far below the surface of the milk, it will not draw enough air to create froth (which is what we want for steamed milk). You will have to experiment to learn what is appropriate. And remember that as the froth rises, the surface of the milk falls, so you will have to adjust accordingly during the frothing process.
Swirl the pitcher in a clockwise (or counterclockwise - whichever is more natural for you) motion to create a "whirlpool" motion in the milk. This will cause the froth to be mixed evenly throughout the milk so as to create an even texture.
Keep frothing until you have made the texture that best suits your tastes. Generally, the milk should be frothed until it has doubled in volume. Once the milk has reached this point, move the tip of the wand slowly down into the milk. This distributes the froth into the milk and ensures an even temperature. When the thermometer reads just over 150°F, turn off the steam tap and remove the tip from the milk.
Note: The frothed milk will have a temperature of 158°F to 162°F because the thermometer takes some time to reach the actual temperature, hence the need to stop the frothing process when the thermometer reads 150°F. Milk frothing thermometers have a colored band around 140°F to 160°F. If using one of these thermometers, stop the frothing process when the temperature enters this colored band.
Quickly clean the wand with a paper towel or clean kitchen towel so there are no milk drippings on your counter or floor.
Immediately pour the foamed milk into your coffee beverage, leaving some in the pitcher to create latte art if desired.
Ingredients
Directions
Open the steam wand to purge any water that had condensed in the tip, then close it again.
Place the tip of the steam wand into the milk, so that the tip is about ½ inch below the surface of the milk.
Open the steam valve all the way at first, and make sure the tip of the wand is kept near the surface of the milk. It needs to draw air from the milk's surface in order to produce the froth. For frothing, you will need to experiment, but a good starting point is to try to keep the tip about ½ inch below the surface of the milk. For steaming, you can completely submerge the tip.
Note: If the tip is too near to the surface of the milk, it will create bubbles that are too large. Remember that you want "microbubbles." On the other hand, if the tip is too far below the surface of the milk, it will not draw enough air to create froth (which is what we want for steamed milk). You will have to experiment to learn what is appropriate. And remember that as the froth rises, the surface of the milk falls, so you will have to adjust accordingly during the frothing process.
Swirl the pitcher in a clockwise (or counterclockwise - whichever is more natural for you) motion to create a "whirlpool" motion in the milk. This will cause the froth to be mixed evenly throughout the milk so as to create an even texture.
Keep frothing until you have made the texture that best suits your tastes. Generally, the milk should be frothed until it has doubled in volume. Once the milk has reached this point, move the tip of the wand slowly down into the milk. This distributes the froth into the milk and ensures an even temperature. When the thermometer reads just over 150°F, turn off the steam tap and remove the tip from the milk.
Note: The frothed milk will have a temperature of 158°F to 162°F because the thermometer takes some time to reach the actual temperature, hence the need to stop the frothing process when the thermometer reads 150°F. Milk frothing thermometers have a colored band around 140°F to 160°F. If using one of these thermometers, stop the frothing process when the temperature enters this colored band.
Quickly clean the wand with a paper towel or clean kitchen towel so there are no milk drippings on your counter or floor.
Immediately pour the foamed milk into your coffee beverage, leaving some in the pitcher to create latte art if desired.


Best explanation I have seen🥸